Almost 5 years ago, I attended a meeting at the Mission Hills Garden Club which had a segment focused on Staghorn Ferns, scientifically known as Platycerium Bifurcatum. Prior to the meeting, I was recently introduced to this cool, yet incredibly weird looking plant that seemingly grew antlers. I was quite keen to learn more. Somewhat of a DIY fanatic, I was especially interested to learn how to mount it to a wooden board on my own, like I've seen at my favorite local nursery, Walter Andersen.
I was delighted to have all my questions answered about this odd plant, with a demonstration on how to adhere them to a cedar board. A garden club member even gifted me a piece of one!
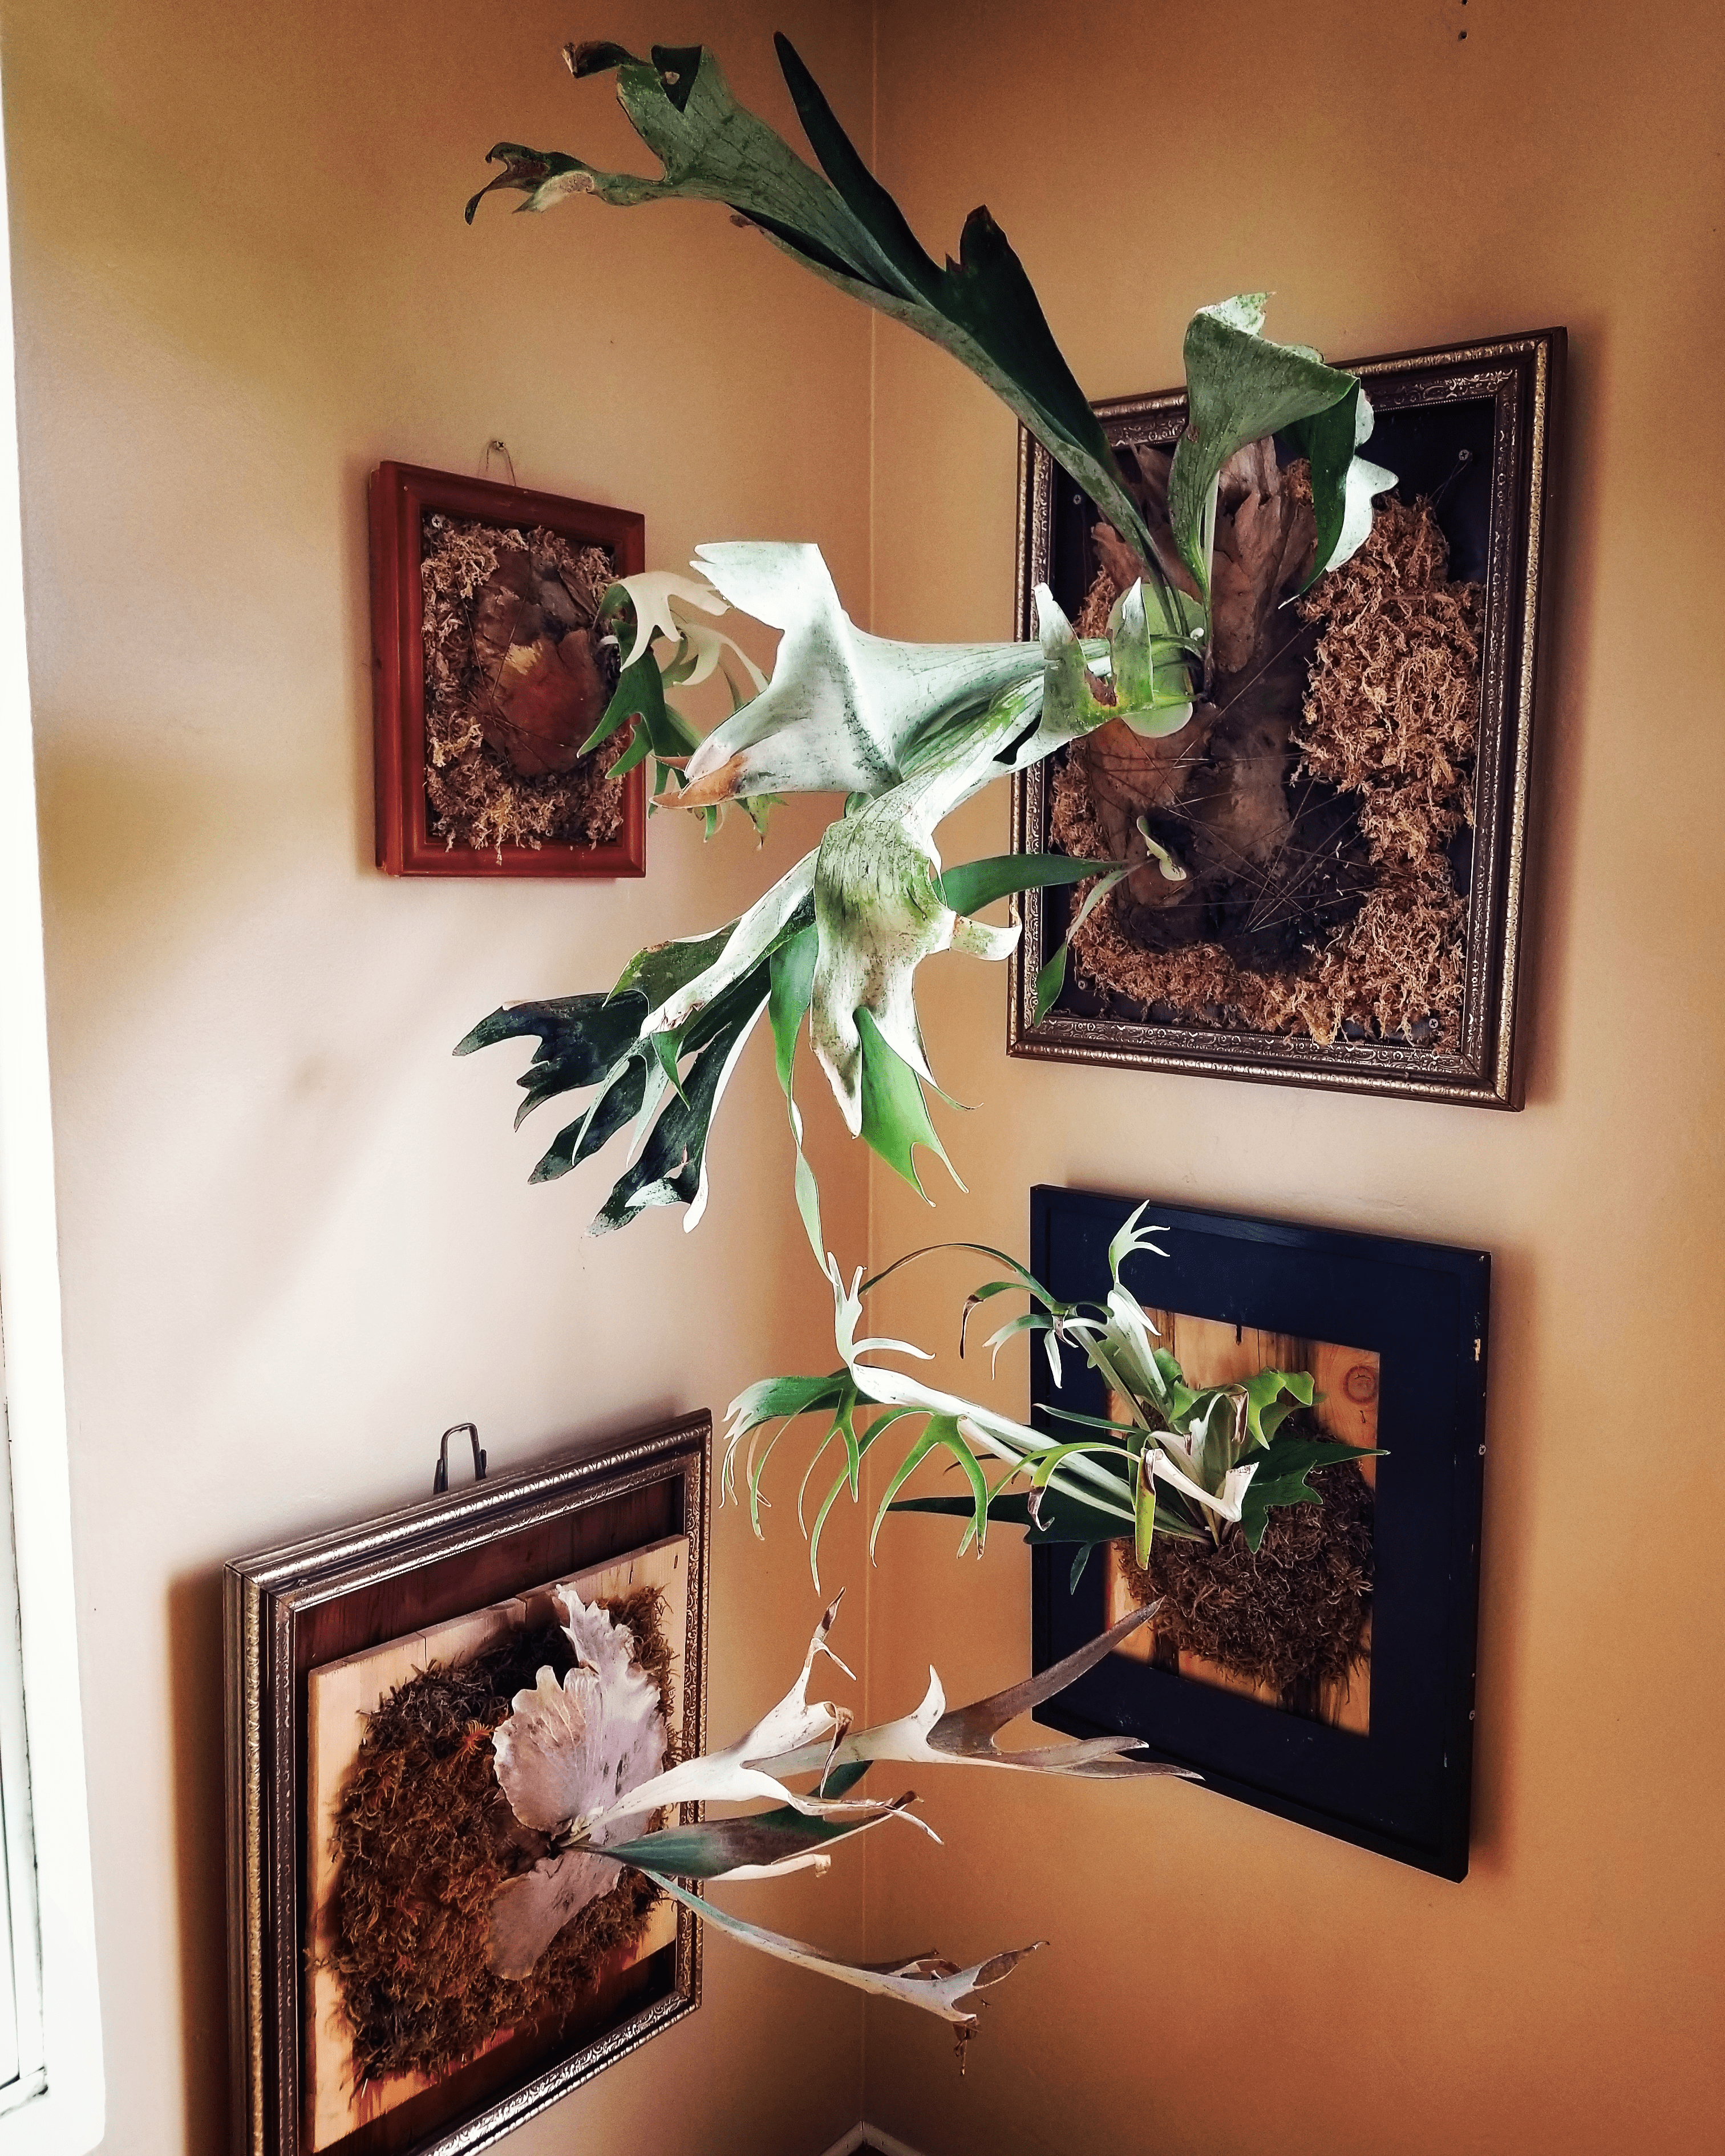
 My first staghorn fern I mounted myself! Plants always resembled living art to me, so I framed it and this is the result!
Now let's go through a step-by-step process on what I learned on “How to Mount a Staghorn Fern”
-
Propagation: These plants are true ferns and reproduce asexually. Underneath the antler-like leaves aka fertile fronds are spores, which will often land on the plant itself and eventually create “pups.” You can be quite aggressive with removing the pups. Here's a short video of my friend propagating a very large specimen.
-
Supplies:
-
Screws, nails, or I prefer these hooks
-
Build your mount:
Measure the size of the board needed for your staghorn fern. It may require cutting a few cedar fence pickets with a saw and attaching them together with screws.
-
Wet and add moss to the board:
The other structure of the plant is called the sterile frond, which is essentially a shield that protects the fern’s root system. You'll first want to wet the moss, wring it out like a sponge and add enough moss to the board to cover all the roots.
-
Add screws, hooks, or nails:
Around the perimeter of the staghorn, to the board. Typically 8-10 is enough.
-
Tie the floral wire over the staghorn to the hooks:
Tie the wire around the hooks, connecting as many pairs as possible. Sometimes I like to make cool designs, but it will be short-lived. Eventually a new shield will grow over the wire and will be fully hidden!
Here's a short video demonstration of the full process:
https://www.tiktok.com/t/ZTRw4Cm28/
Staghorn Fern Care Tips:
- 🌞 Sunlight: Only bring indirect light
- 💧 Water: 1/week but twice a month is ok
- 💩 Fertilizer: cow manure? Nope lol Use fertilizer tablets or 🍌 peels
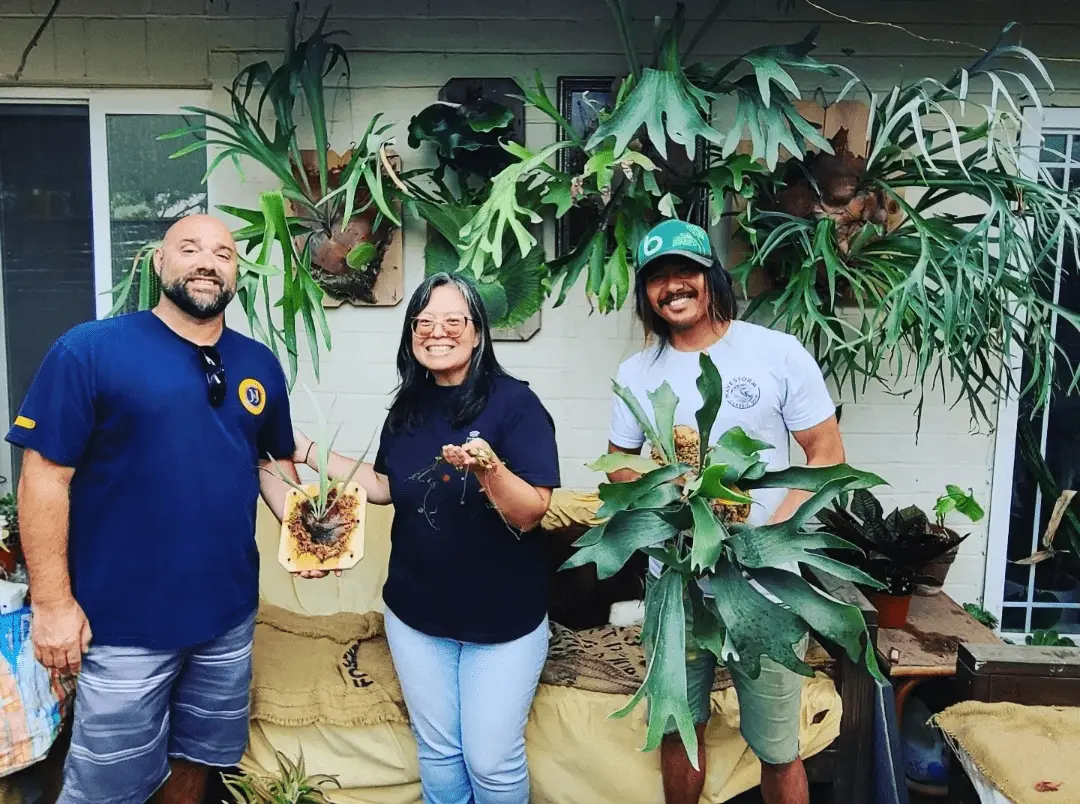
Over time, I loved sharing this knowledge with friends & the Blossm community. I even led 3 workshops, 2 in my backyard, and one most recently at Crushed, a family owned restaurant managed by Amy & Andy Ballester.
 18 stoked plant people showed up to my workshop, with help from fellow Blossm Co-founder Calvin Mitchell (bottom right).
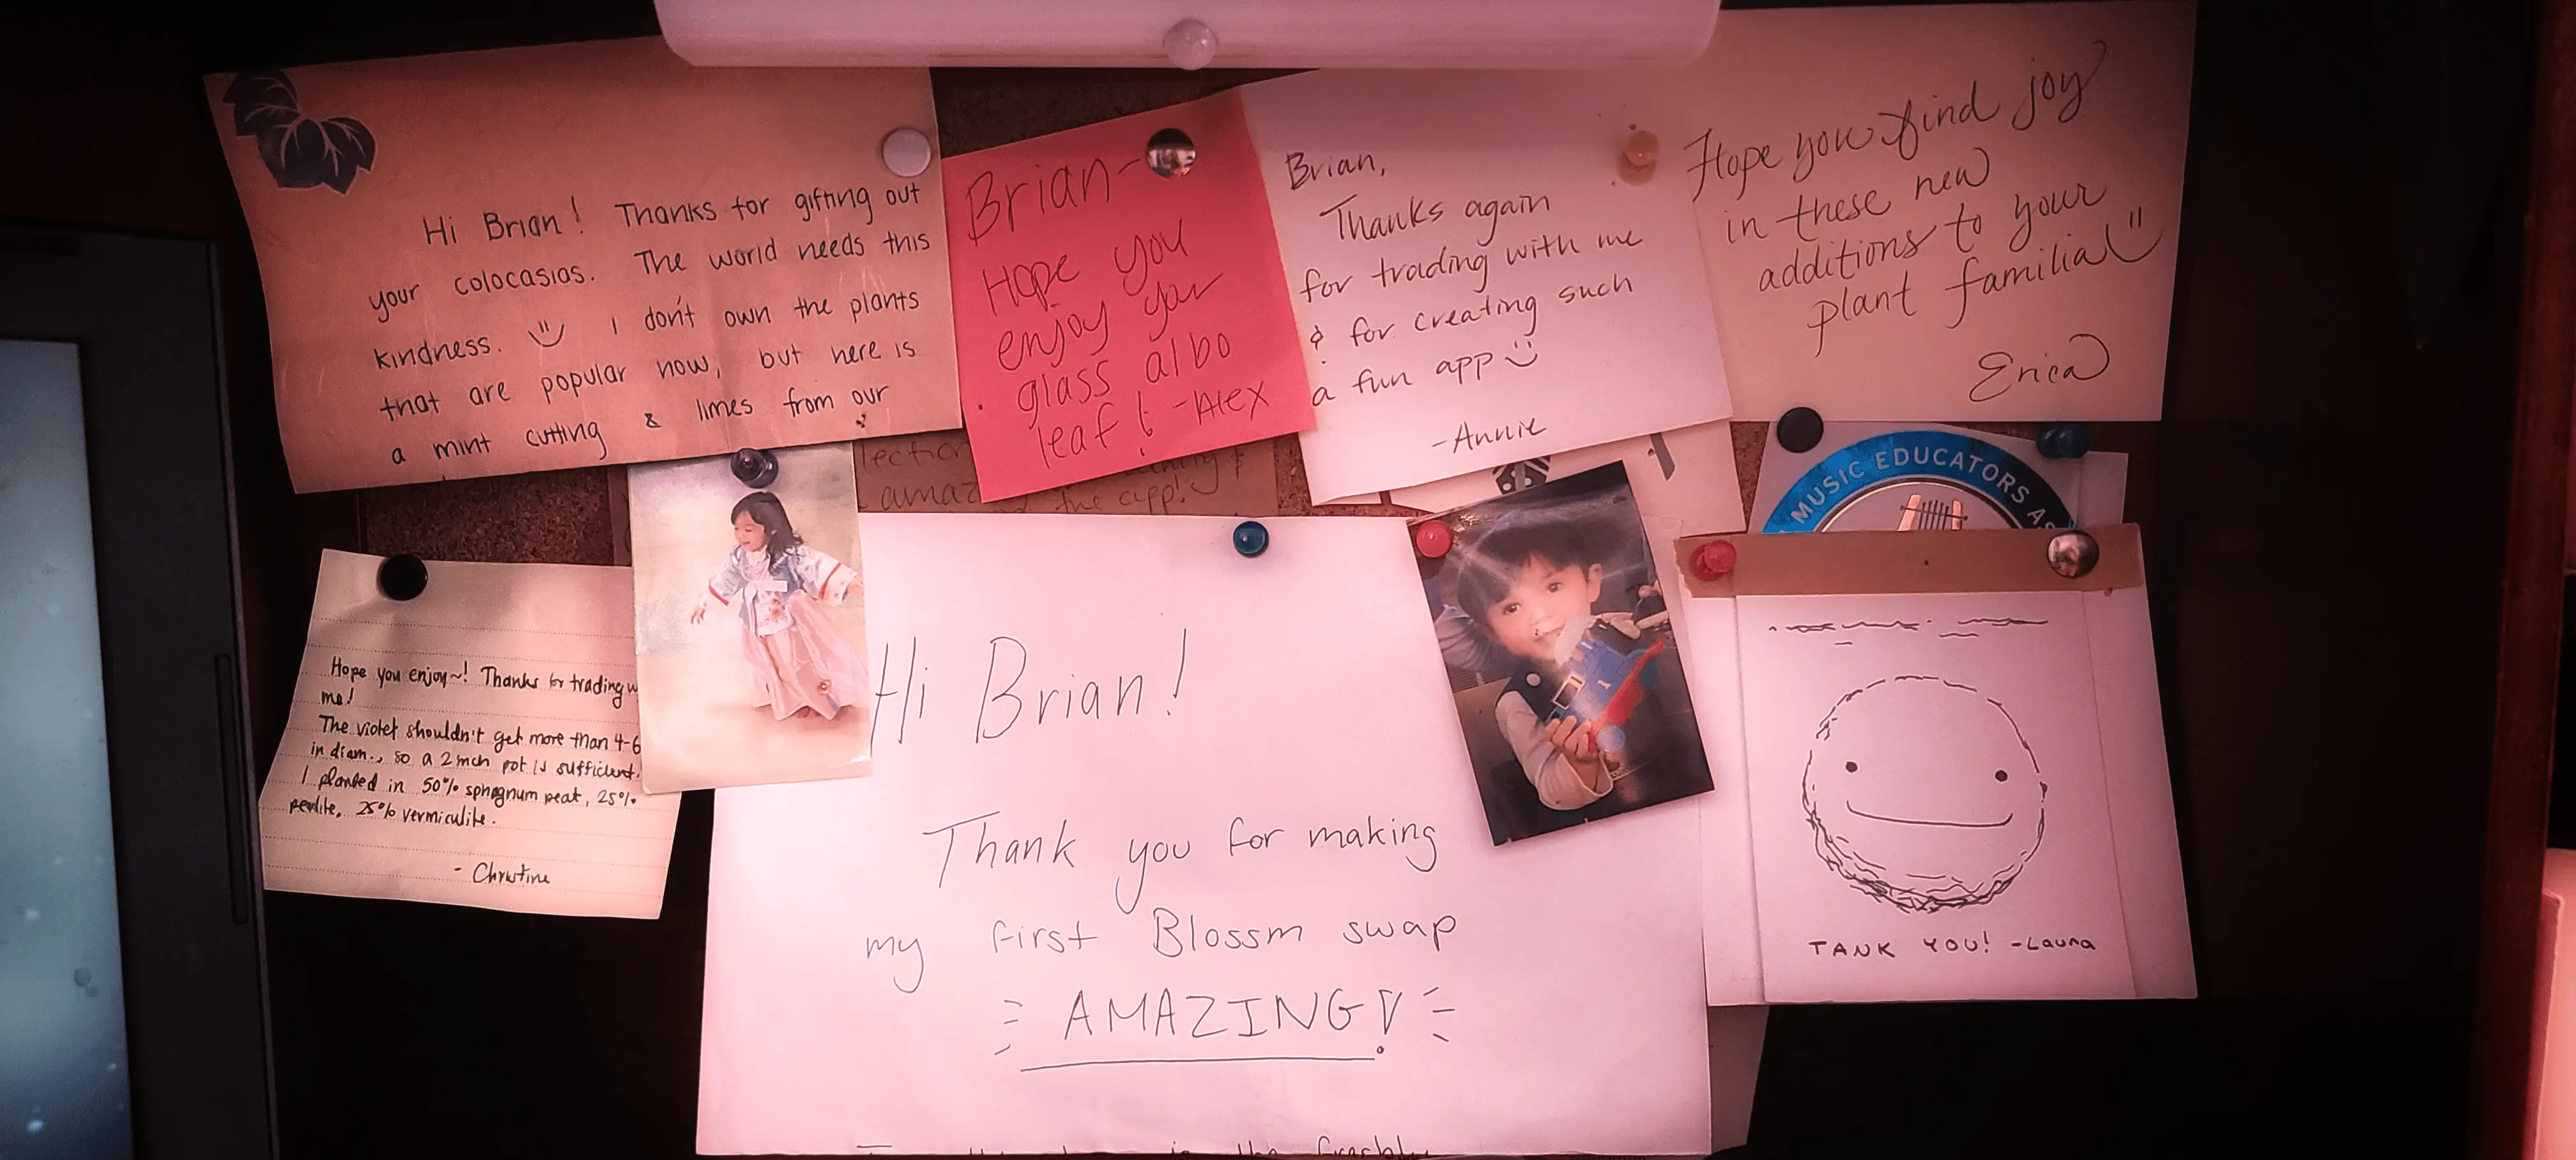
The most rewarding aspect of building this Blossm community has been all the new friends I've made, and all the wonderful people I've met along this beautiful journey.
Here are a few of them 💚
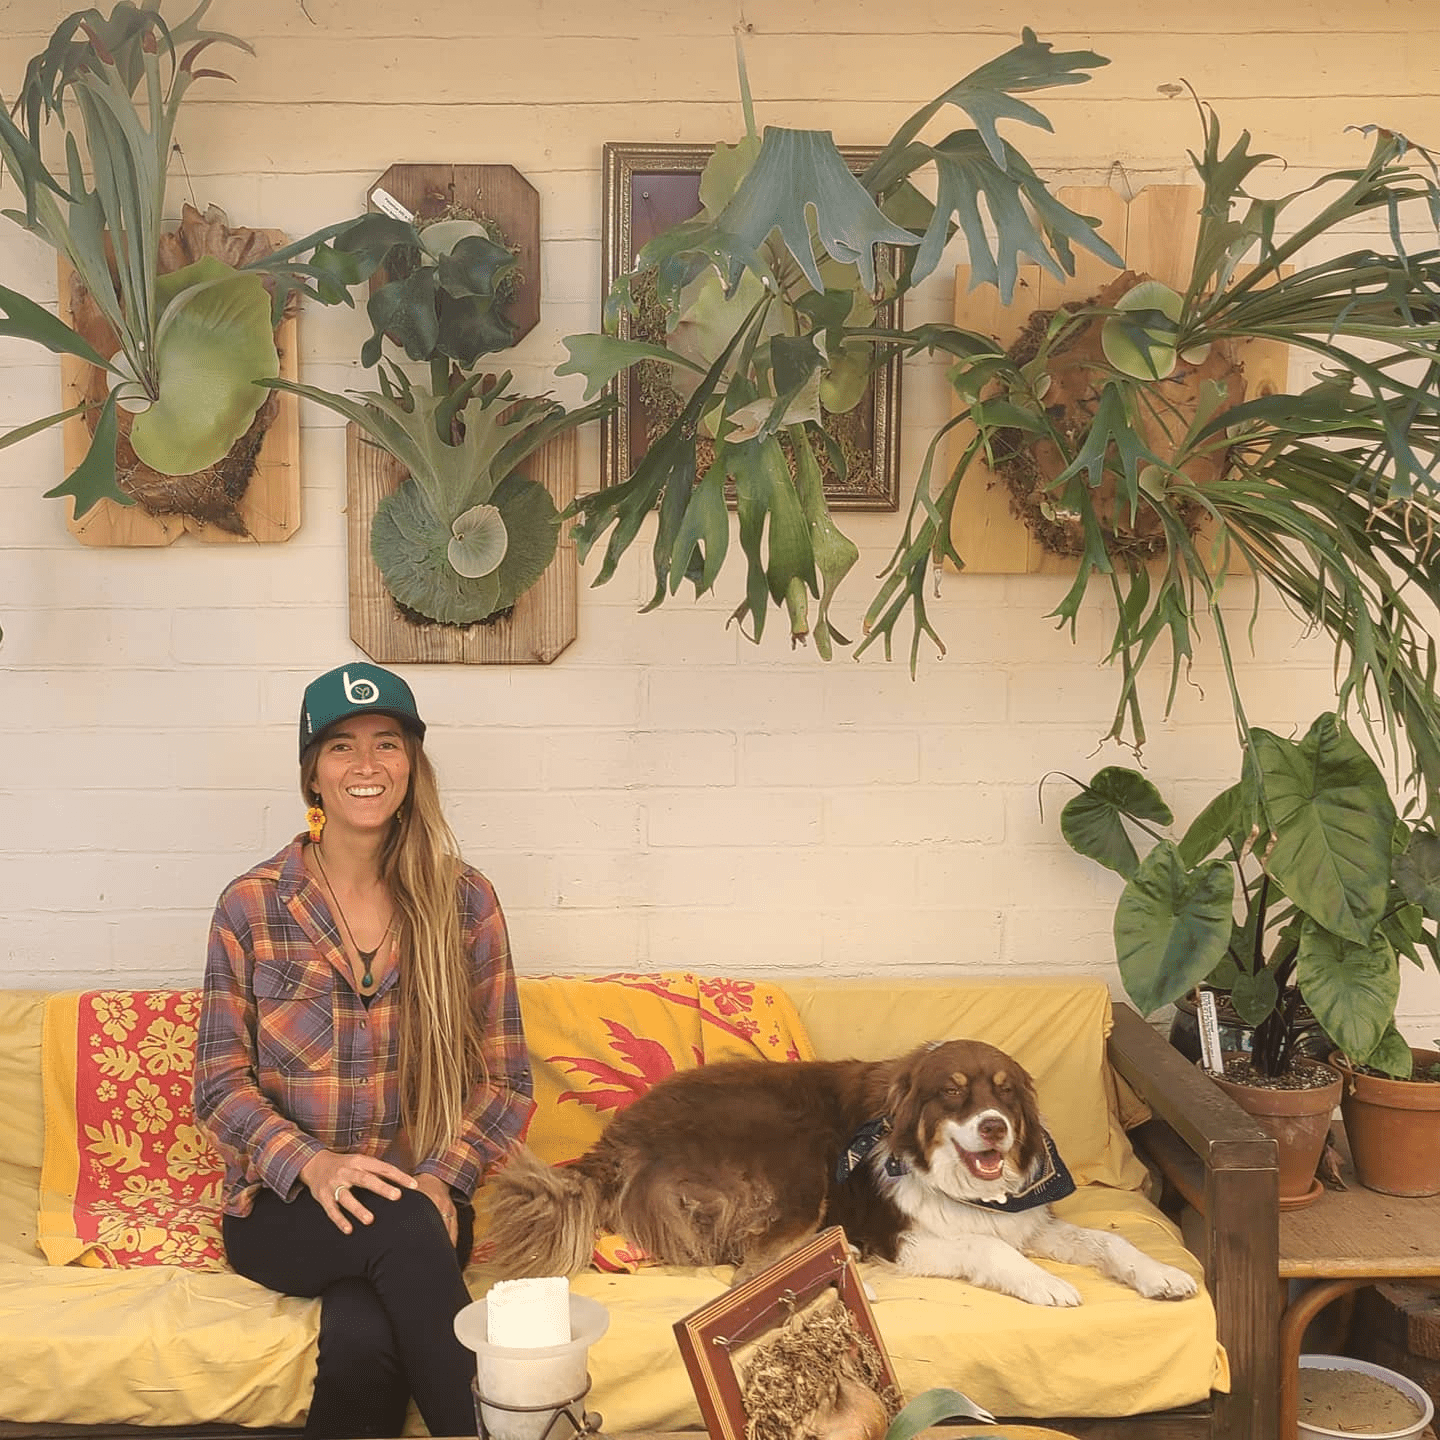 My local friend, Azul (https://www.instagram.com/azulnomadart/), who hand paints our Blossm hats and specializes in Murals and wearable art. Special cameo from Camper, my favorite furry plant friend.
 I gifted this staghorn to my friend’s roommate pictured here. When I went to her house for the 1st time, I was excited to see a indoor jungle similar to mine, and shared one of favorites with her.
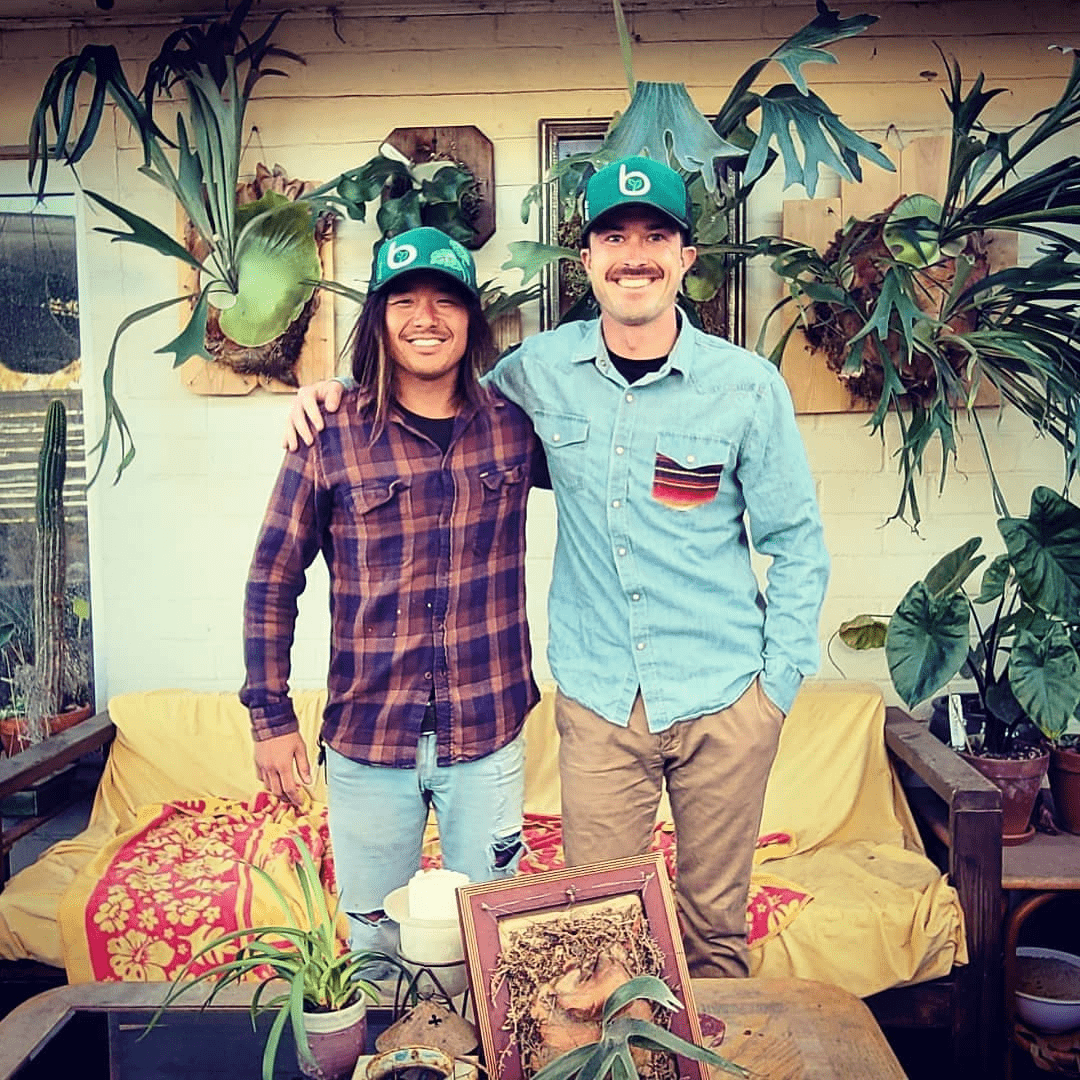 Co-founder Nick Mitchell and I posing for a shot in front of my Staghorn Fern wall.
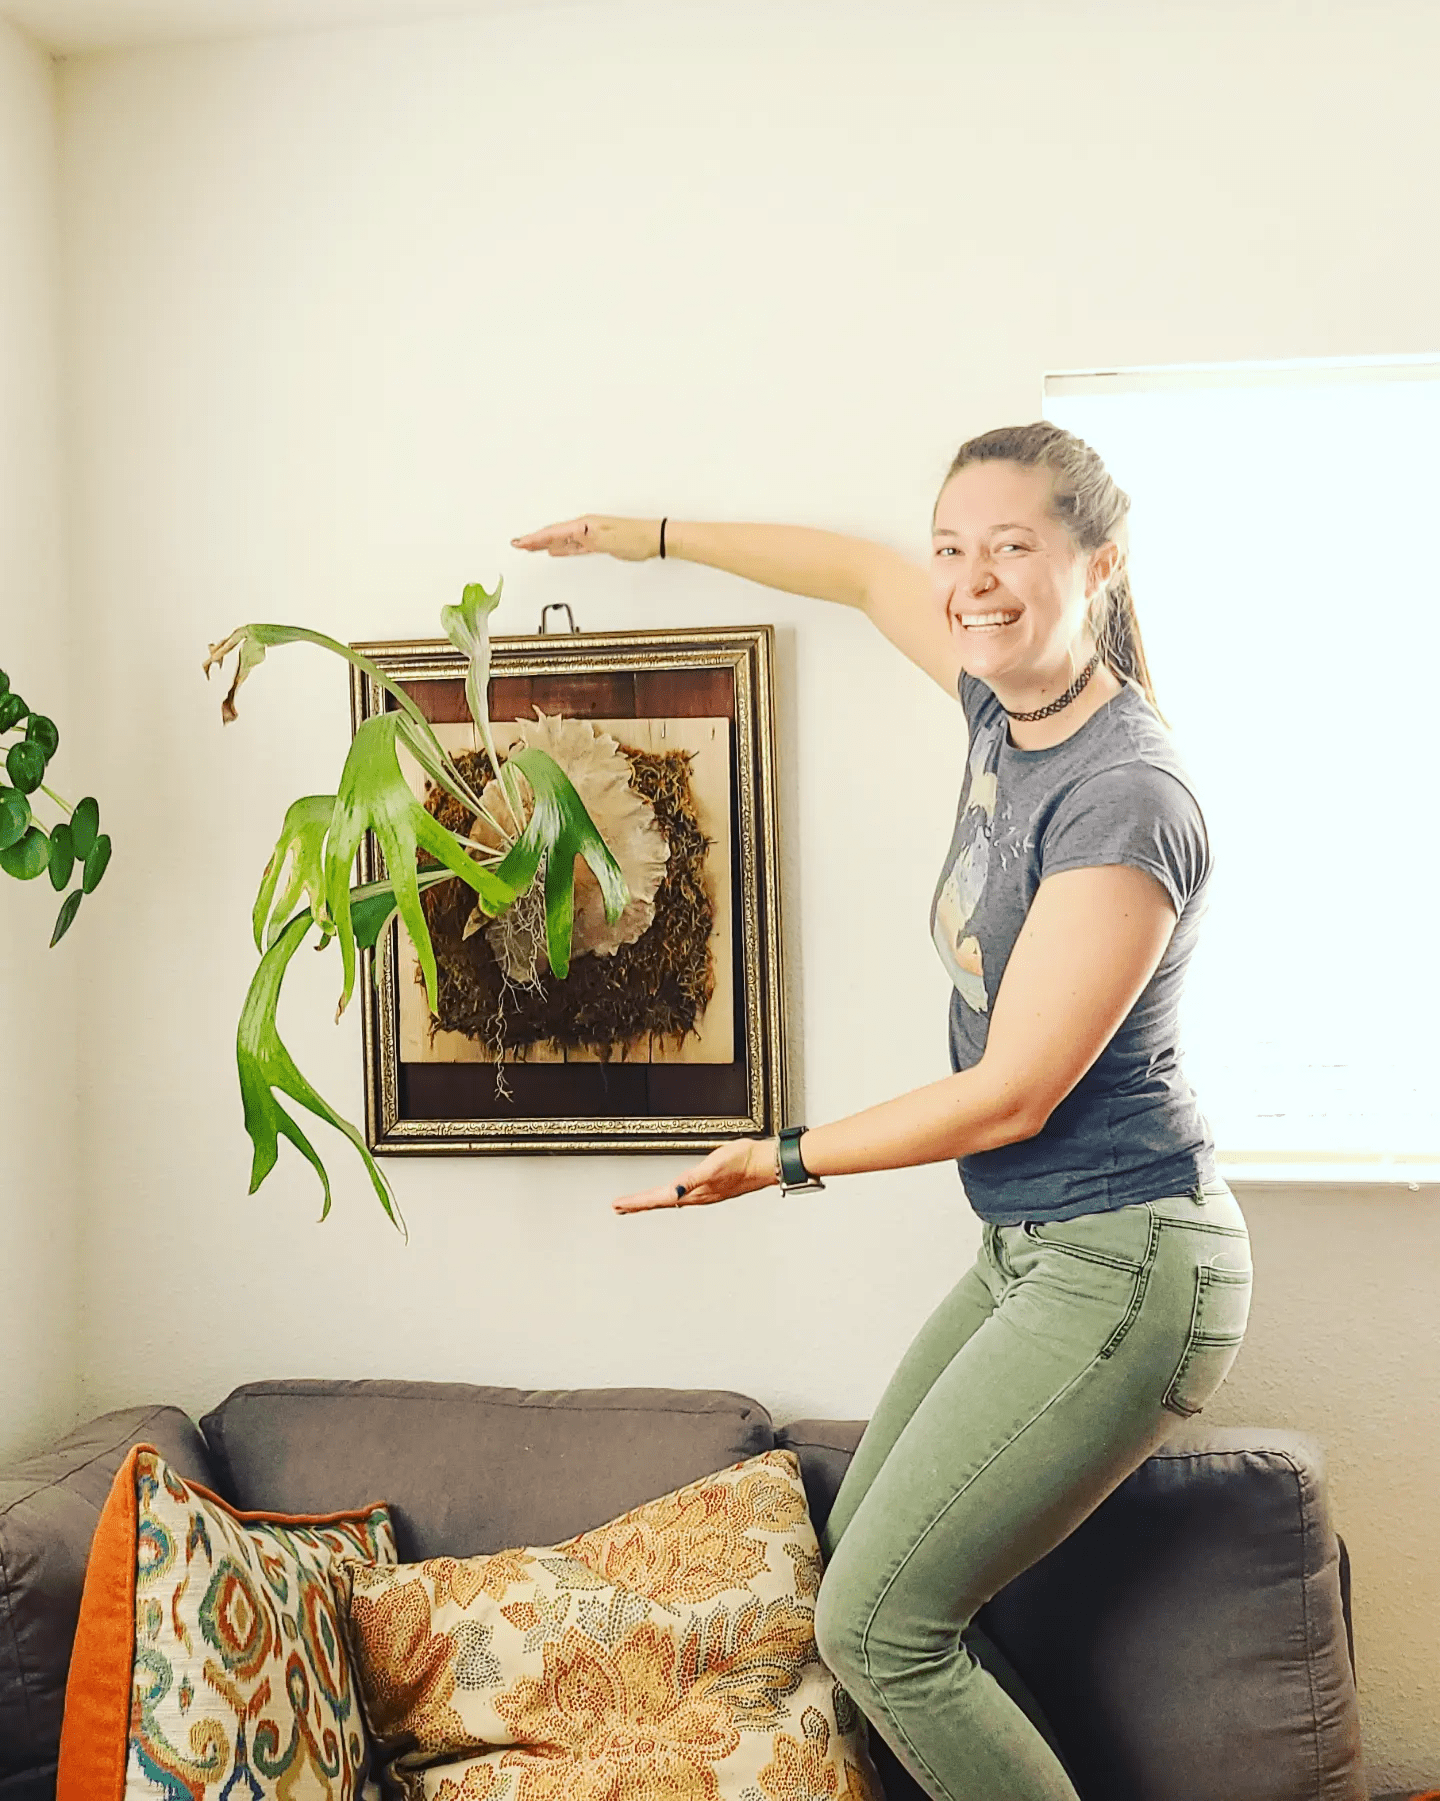
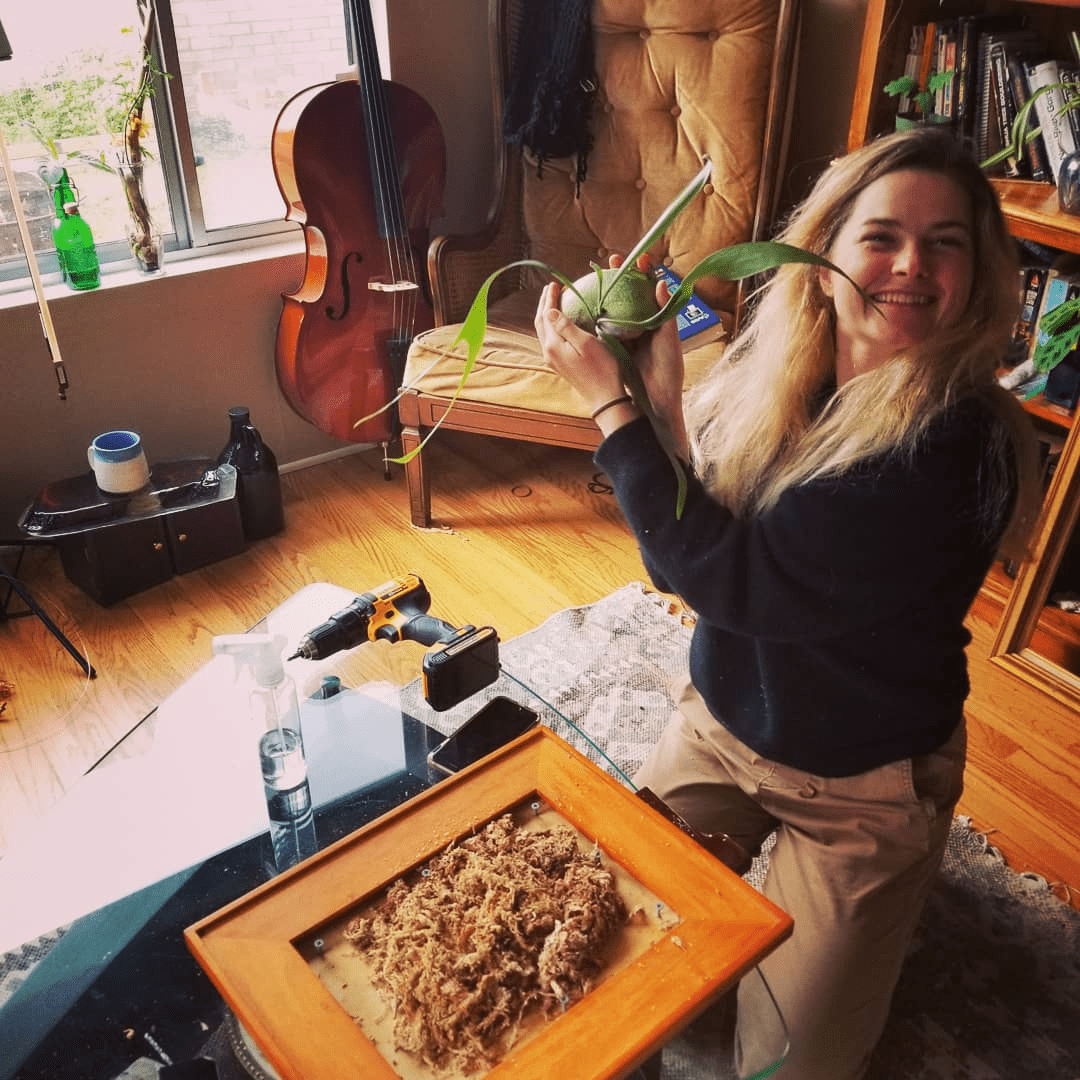
 My new friend, Alison, who I met on Blossm. She came over and we mounted her staghorn for her. She was stoked!
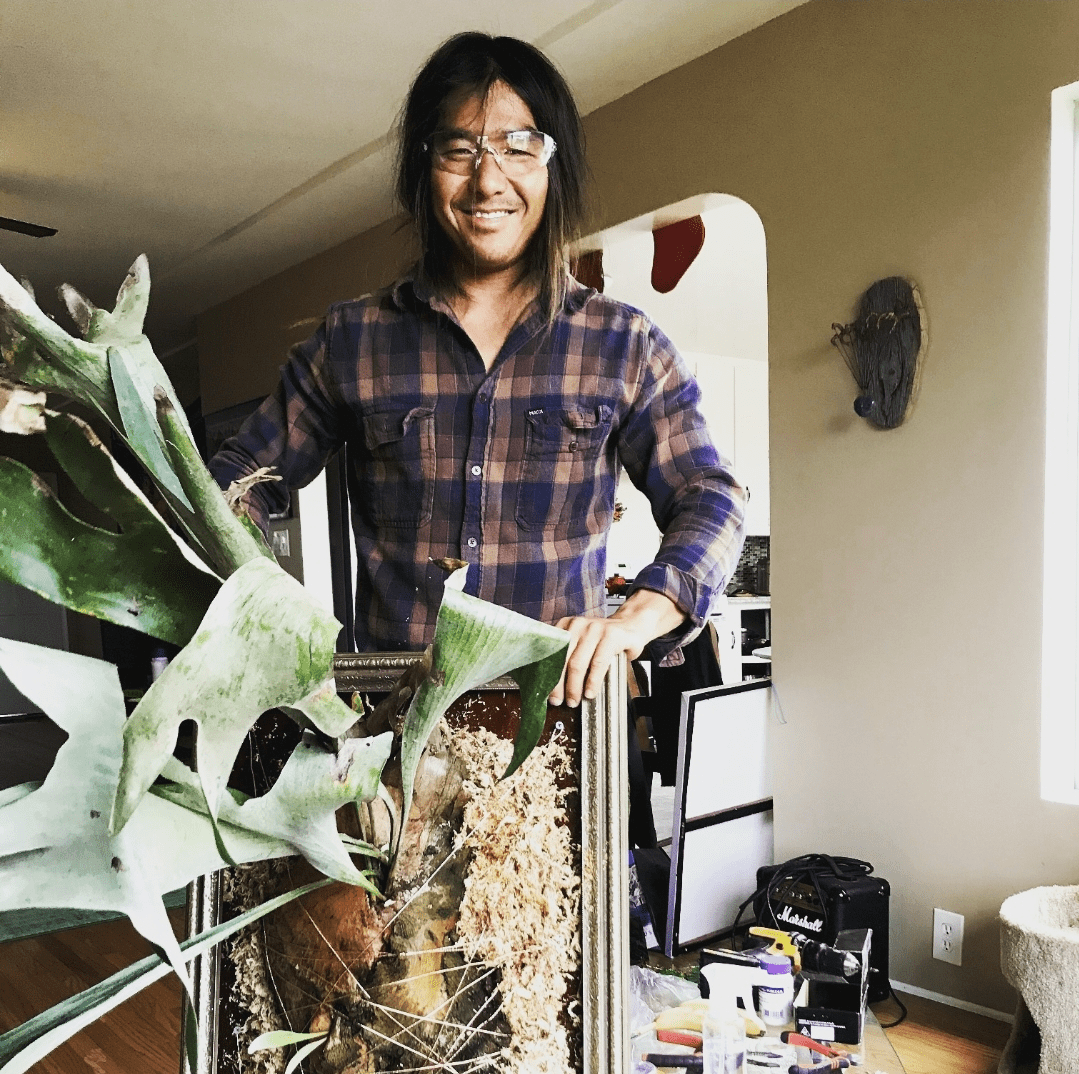
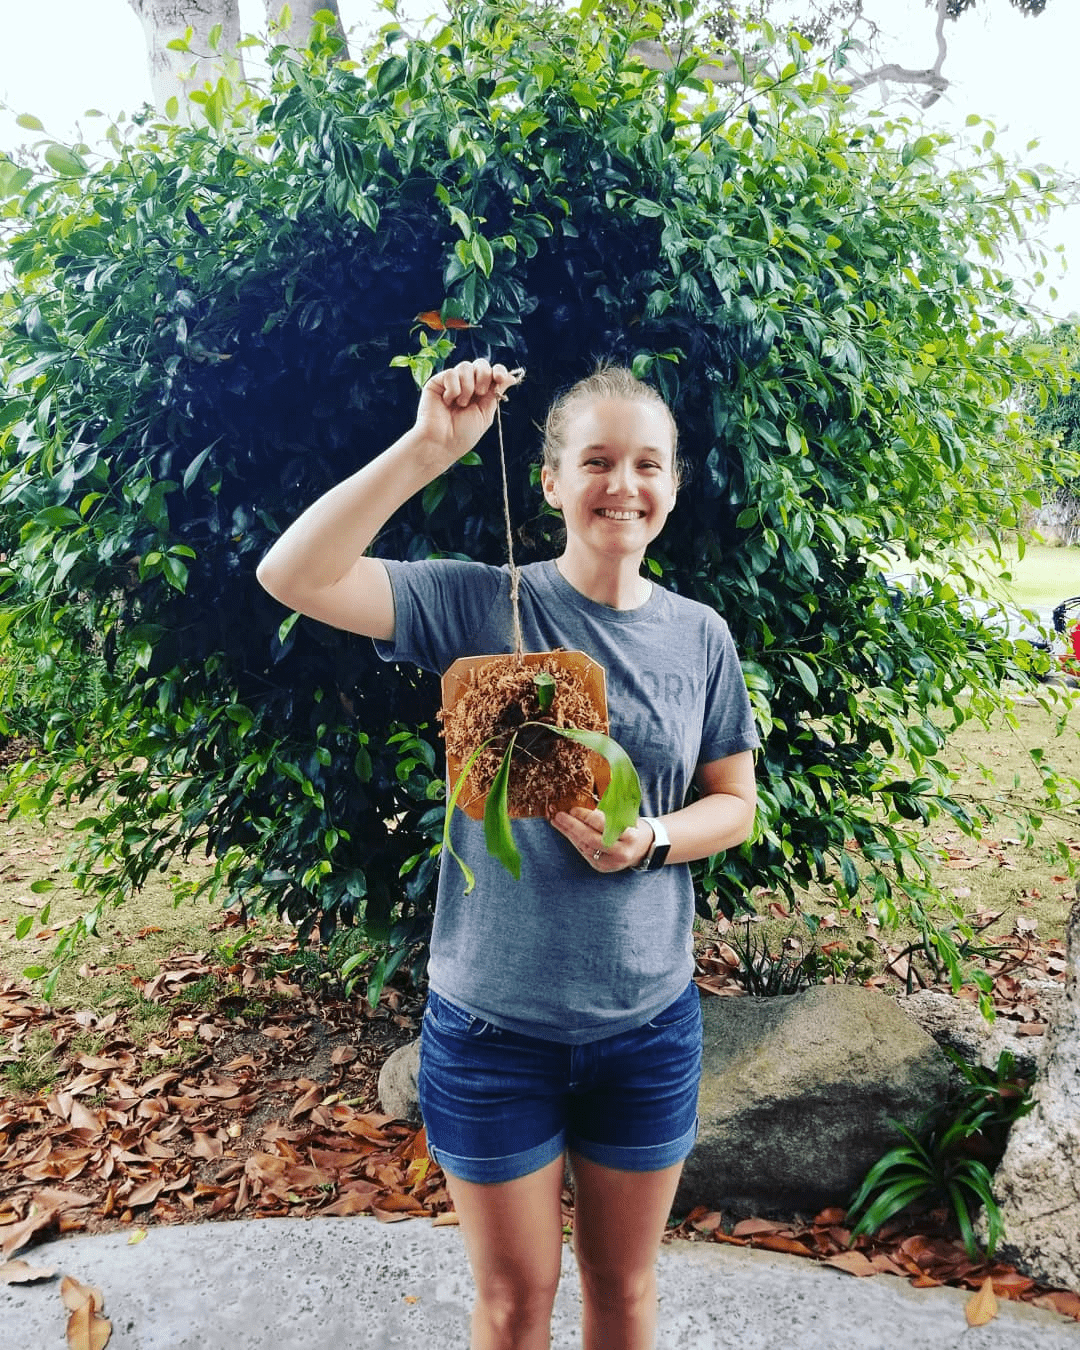
 My first true plant pal, Lauren. We loved DIY projects, especially planty ones! Here she is proud to show off her 1st staghorn fern she is about to mount on her own. She helped Nick and I in the early Blossm days to build out our plant care database.
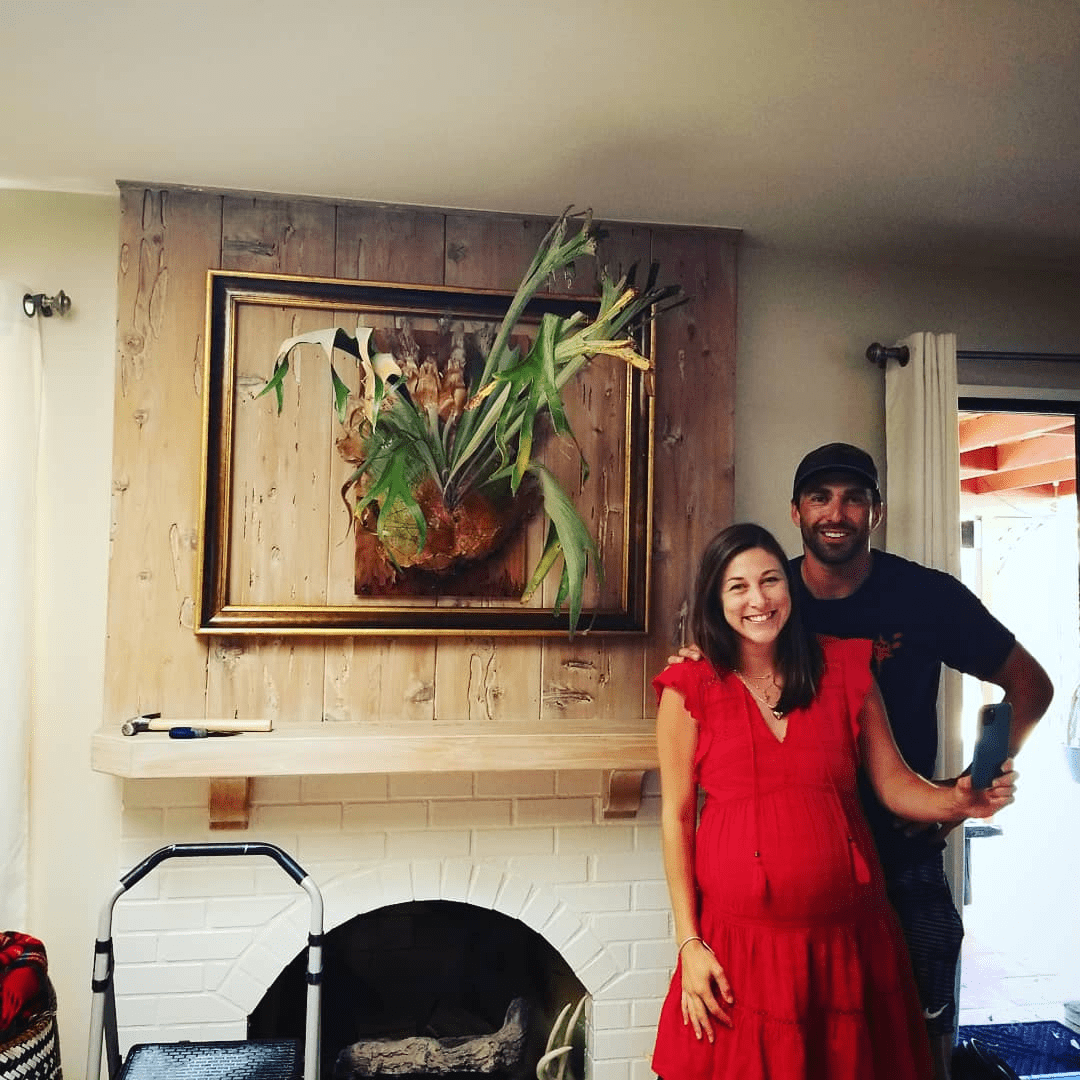 My friend, Gonzo, and his wife in their home. I made this statement piece to welcome them on their next big chapter of starting a family.
 Plants make the best art :)
Recommended Blogs
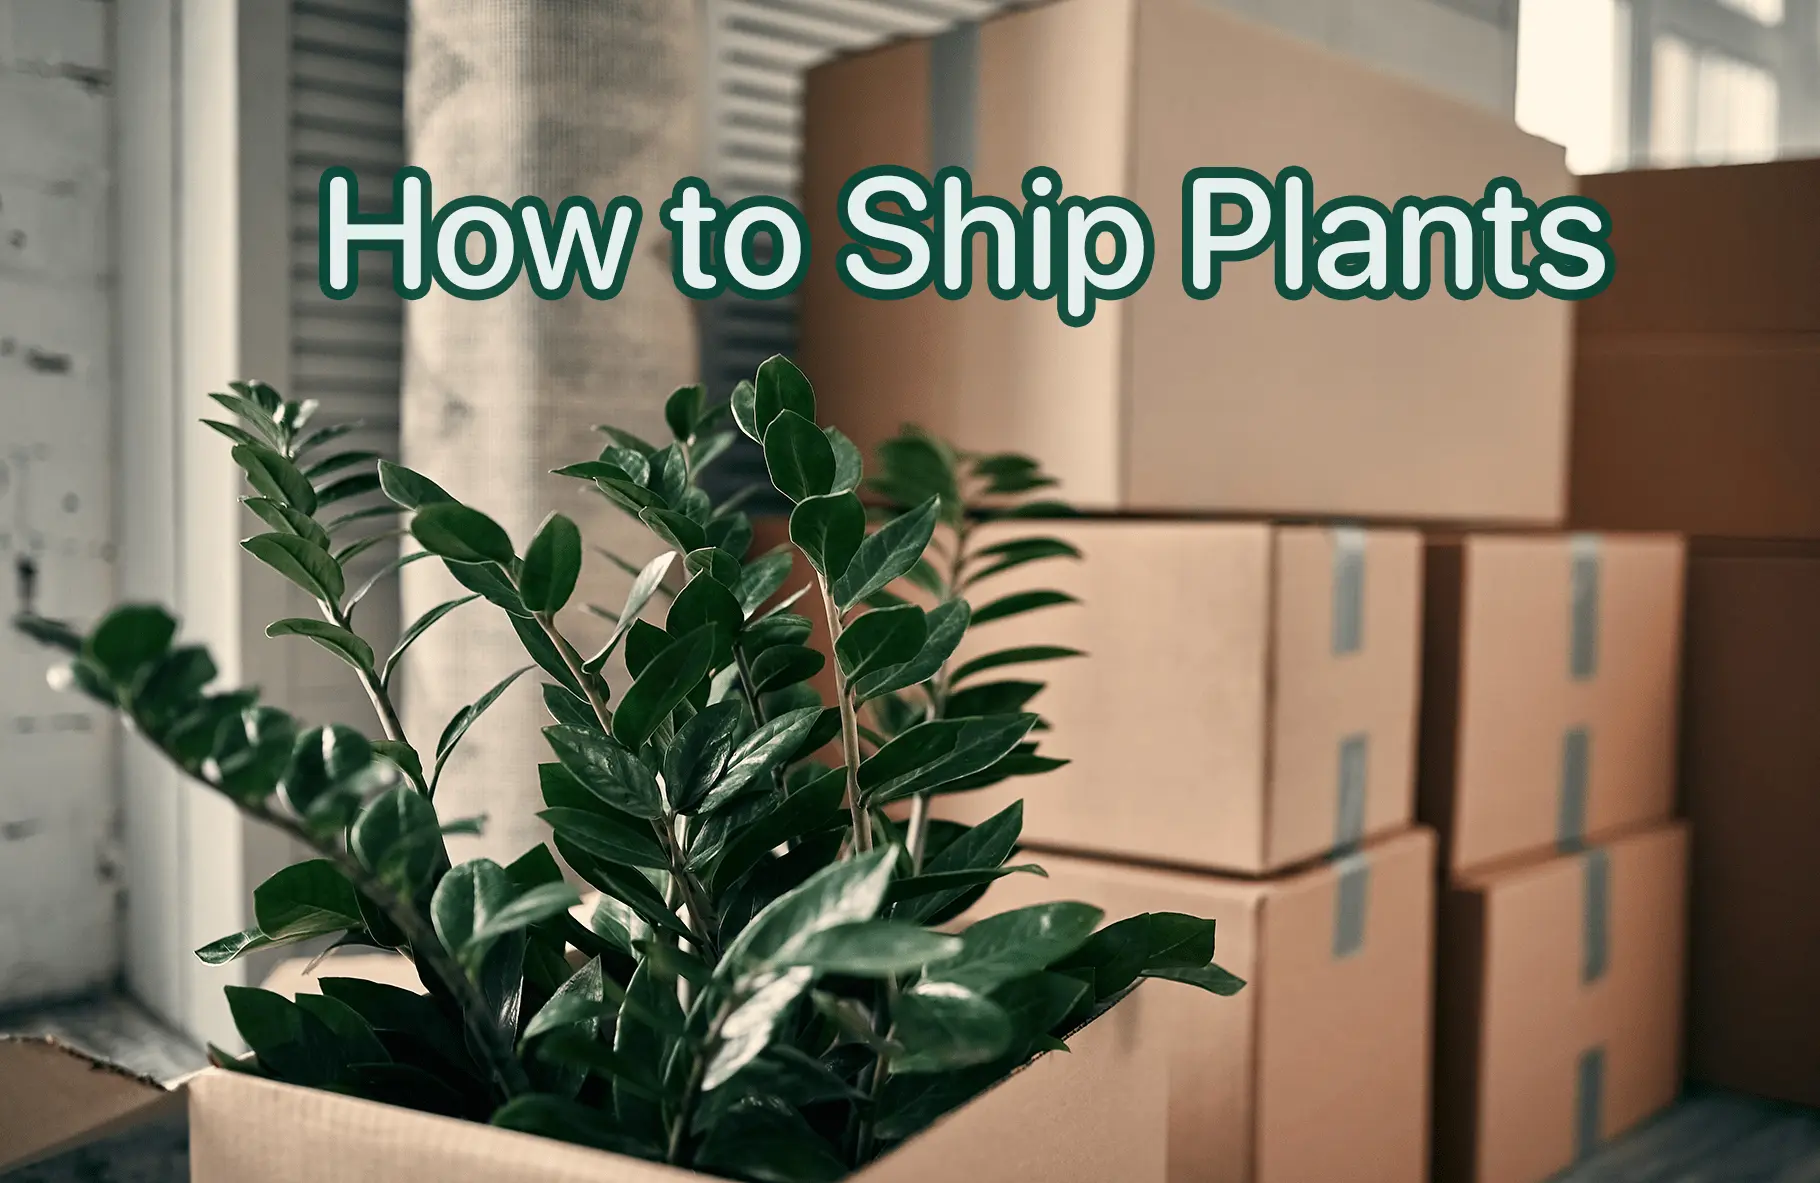
How to Ship Plants
Shipping plants is actually easier than you think and quite common! At Blossm, many of our community members ship plants all over the country! Best practices for shipping plants.
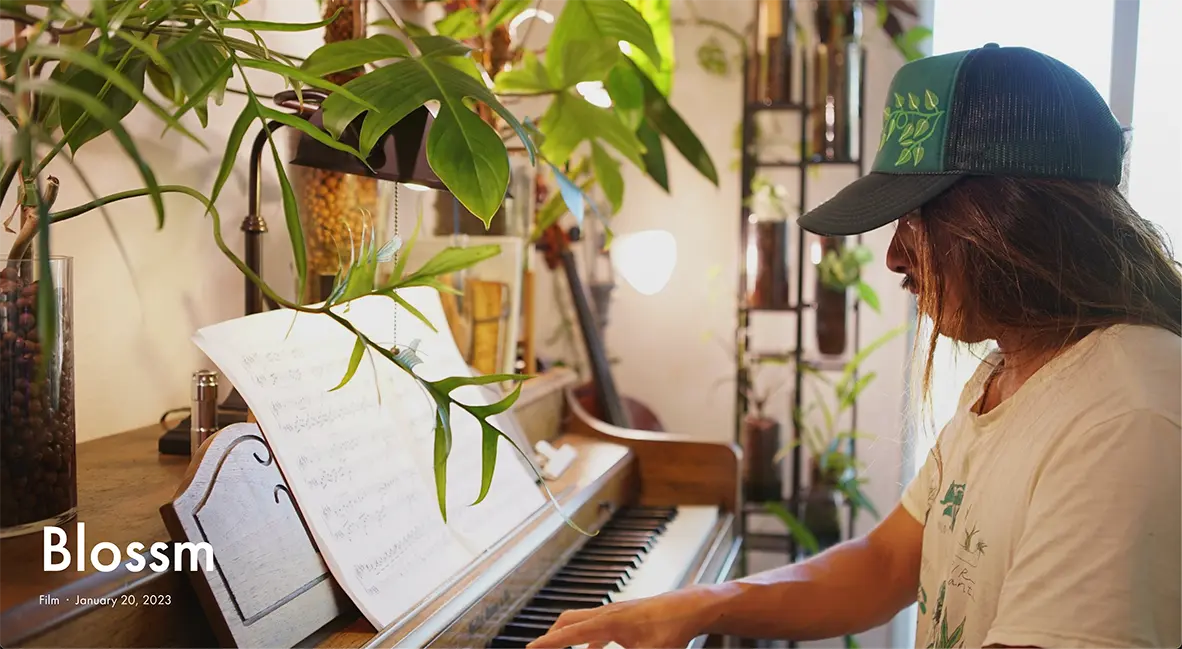
Plant Pop - Meet Brian Feretic & Hear How Blossm Grew into a Flourishing Plant Community
After discovering his love for plants, Brian was eager to spread the joy that he gets from them to others in his community. One day, he found himself exchanging one of the plants he had propagated, a rubber plant, with a neighbor, who let him pick one from her garden.
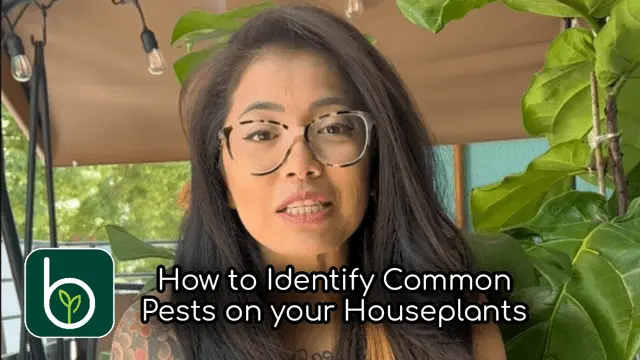
How to Identify Common Pests on your Houseplants
Identifying common pests on houseplants is essential for maintaining their health. We first start looking for signs of damage such as holes, discoloration, or wilting.
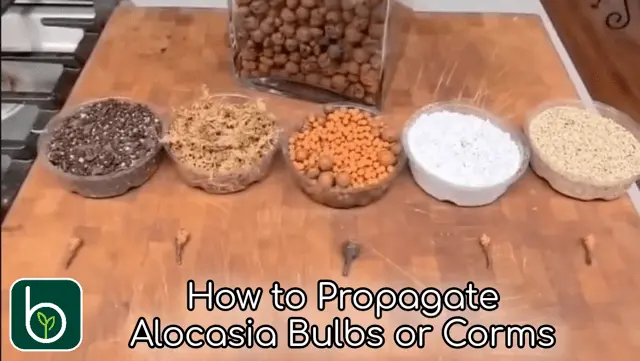
How to Propagate Alocasia Bulbs or Corms
It's plant experiment time again! "Which medium is best to propagate an alocasia corm or bulb?" When I was repotting one of Alocasia plants, I uncovered a bunch of baby bulbs or "corms" that were growing on my Alocasia Cuprea momma plant.
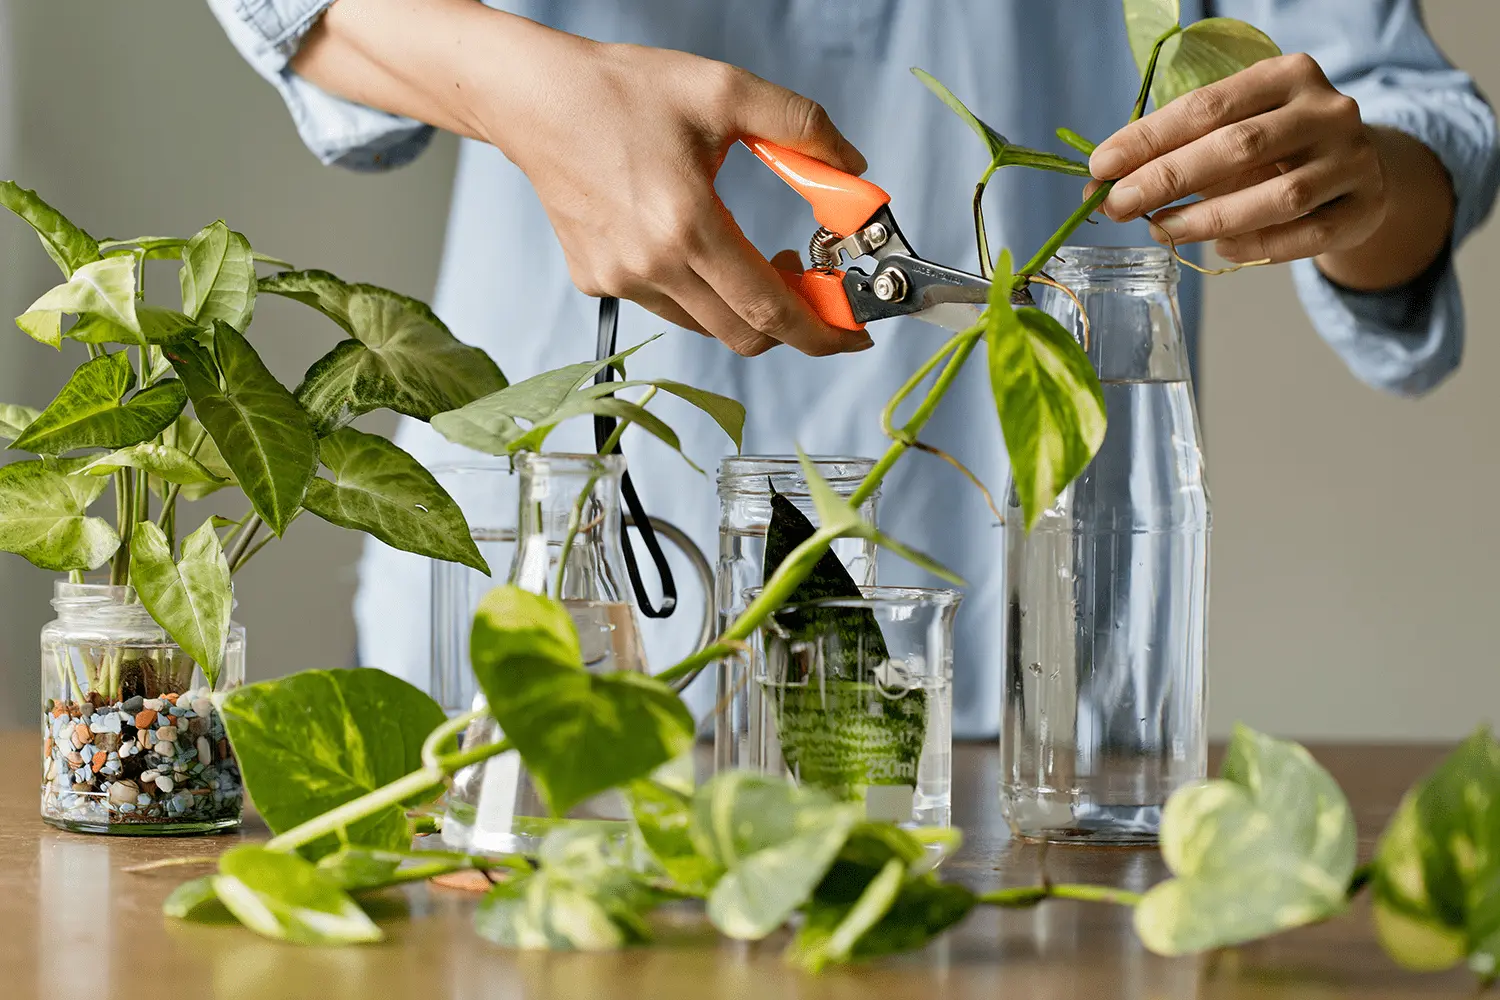
The Best Rooting Hormone for Plant Propagation
About six weeks ago, I started a plant experiment to compare the different types of rooting hormone for propagating my houseplants.
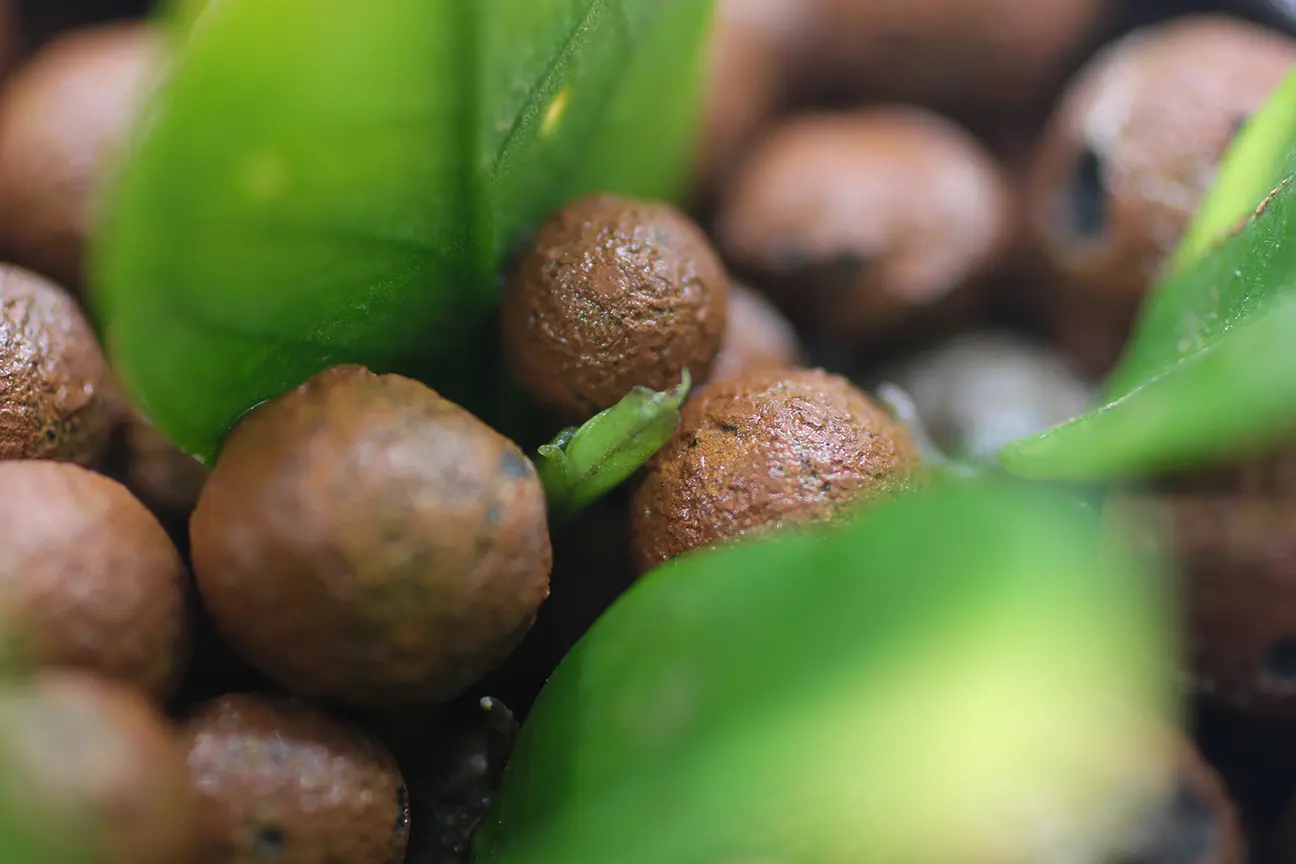
The Benefits of Growing Plants in Leca
We have grown to really love using LECA (Lightweight Expanded Clay Aggregate) for almost all of our plants. LECA has been used in semi hydroponics and has gotten more popular throughout the years for gardening and horticulture.
The Blossm Plant Community is My Form of Therapy 💚
As a first time founder, I didn't really fully understand what I was getting myself into... I knew Blossm would need at least 3-5 years to see it through, and the journey was going to be extremely difficult, but I didn't truly understand the magnitude of the rollercoaster ride of #startuplife.